
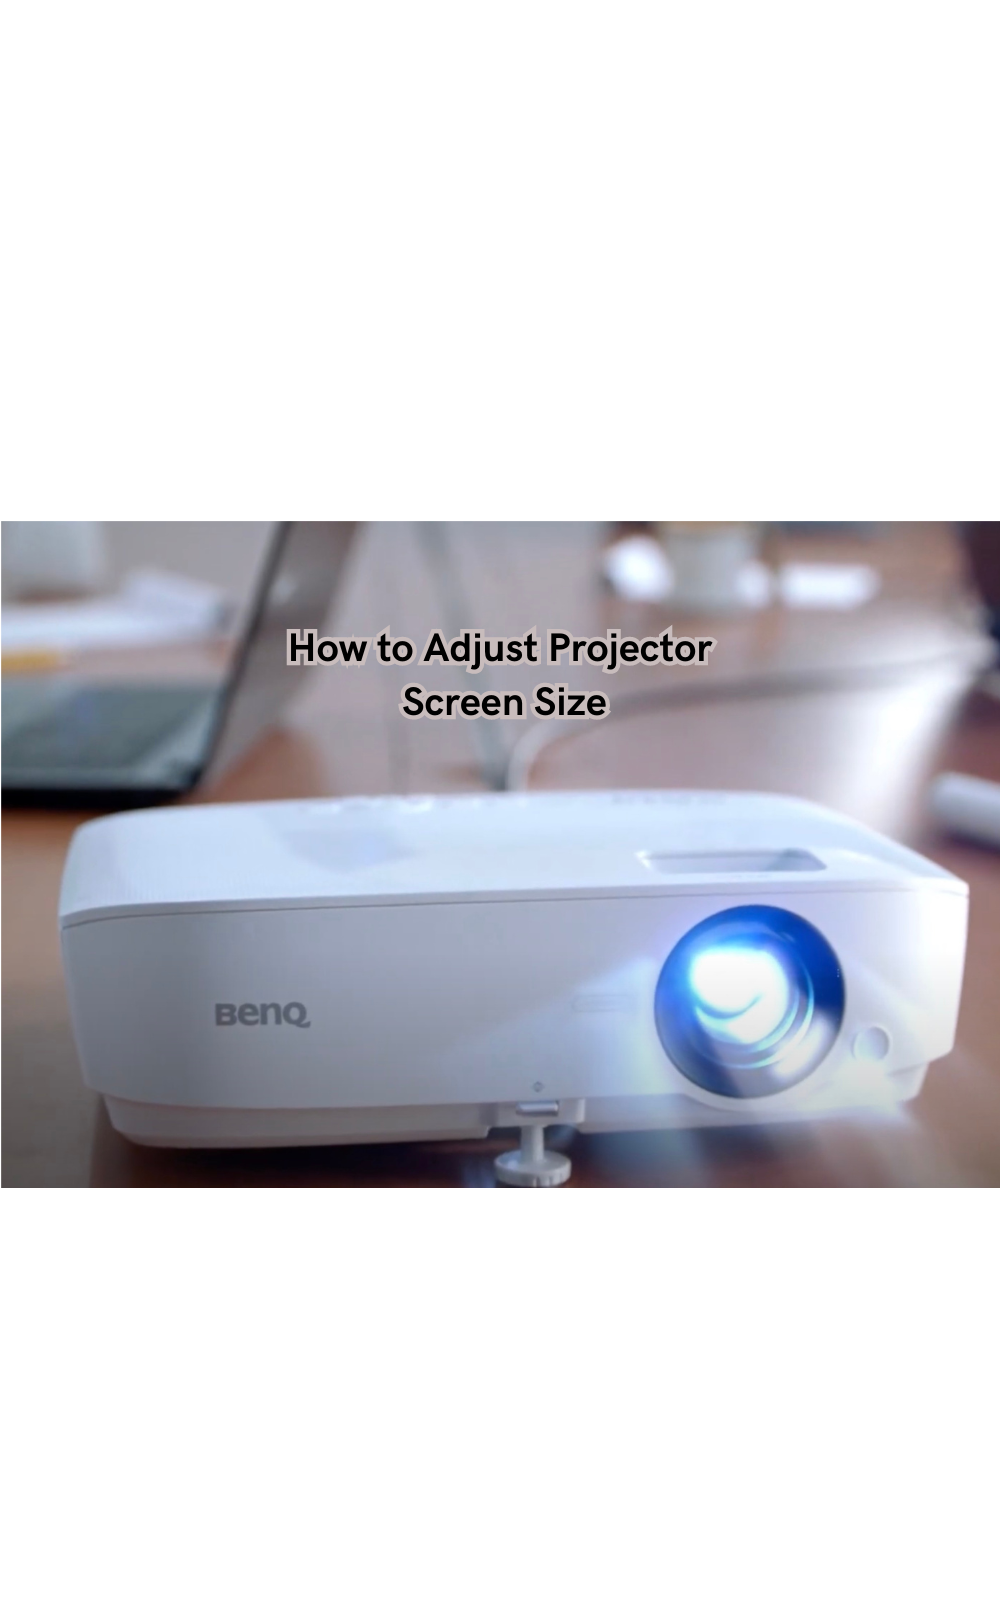
How to Adjust Projector Screen Size
Modern projectors offer versatile options to adjust the projected image size, allowing users to fine-tune the display to fit various environments. Understanding throw distance—the space between the projector and the screen—is key to setting up the correct screen size.
Achieving the perfect projected image involves more than just turning on your device and aiming it at a surface. Ensuring the desired screen size without compromising image quality is crucial for an optimal viewing experience.
Modern projectors offer versatile options to adjust the projected image size, allowing users to fine-tune the display to fit various environments. Understanding throw distance—the space between the projector and the screen—is key to setting up the correct screen size.
As you navigate these features, you'll find that adjusting the screen size can be done seamlessly with the right approach, enhancing your viewing experience without sacrificing clarity or detail. This guide will walk you through the essential steps.
Why is Projector Screen Size Important?
The size of your projector screen is an important aspect to consider when setting up your projection system, whether it be for a home theater or a professional presentation. The screen size directly affects the overall viewing experience and can greatly impact the clarity, detail, and immersion of the projected image.
One key factor in adjusting the screen size is understanding the throw distance. This is the space between the projector lens and the projection surface. Different projectors have different throw distances, so it's essential to consult your device's specifications before setting up.
Another critical consideration is aspect ratio, which refers to the proportional relationship between width and height of an image. Most projectors offer multiple aspect ratios to choose from, and selecting the right one for your content can make a significant difference in the visual quality.
How to Adjust Projector Screen Size
Now that we understand the importance of projector screen size, let's dive into the steps on how to adjust it effectively.
The process may vary slightly depending on your specific projector model, but these general guidelines will help you achieve the desired screen size with ease.
Tools Needed
- A projector
- A projection surface (a wall or a dedicated screen)
- A measuring tape
Step 1: Determine Throw Distance and Aspect Ratio
As mentioned earlier, throw distance is the space between the projector lens and the projection surface.
It's crucial to know this measurement before setting up your screen size. Consult your projector's manual or manufacturer's website for the exact throw distance of your device. Measure this distance and mark it on your projection surface using tape or a marker for reference.
Next, consider the aspect ratio of your content. This will determine the proportions of your projected image. Most projectors offer multiple aspect ratios, but some may not support all options, so it's essential to check before selecting one.
If you're projecting a widescreen movie, for example, you'll want to choose the 16:9 aspect ratio. For traditional television shows and presentations, the 4:3 aspect ratio is typically used.
Step 2: Adjust Zoom and Lens Shift
Once you have determined the throw distance and aspect ratio, it's time to adjust the zoom and lens shift features on your projector.
Start by placing your device at the recommended throw distance from the projection surface. Then, use the zoom feature to increase or decrease the size of your projected image until it reaches your desired screen size within the marked measurements. Use lens shift to adjust the image horizontally or vertically if needed.
This feature is especially useful for correcting any distortion caused by an uneven projection surface or projector placement.
Step 3: Fine-tune with Keystone Correction
If you notice any distorted edges or a trapezoidal shape to your projected image, keystone correction can help correct it. Most projectors offer this feature, which digitally adjusts the image to be more rectangular in shape.
However, using this too much can affect the overall clarity of the image, so use it sparingly and try to achieve the desired size and shape through zoom and lens shift adjustments first.
Step 4: Test and Adjust as Needed
Once you have completed all the above steps, it's time to test your projected image and make any necessary adjustments.
Use a variety of content, such as movies, games, or presentation slides, to ensure that the screen size and aspect ratio are suitable for all types of media.
If needed, make small tweaks using the zoom and lens shift features until you achieve the perfect screen size without compromising image quality.
Step 5: Enjoy Your Perfectly Sized Projection
Now that you have successfully adjusted your projector screen size, sit back and enjoy an optimal viewing experience!
Remember to always consult your device's manual for any specific instructions or tips on adjusting screen size for your particular model. With a bit of experimentation and the right tools, you can achieve your desired screen size for a truly immersive experience.
These steps can also be applied when setting up multiple projectors for larger screens or projection mapping projects. Just make sure to accurately measure and adjust each projector accordingly, and the result will be a seamless and impressive display.
Troubleshooting Tips
Here are some common issues that may arise when adjusting screen size and how to troubleshoot them:
- If the projected image is too small or not filling up the entire screen, check the throw distance and adjust as needed.
- A distorted or trapezoidal image can be corrected by adjusting keystone correction, but only use this sparingly as it can affect clarity.
- If you're experiencing a poor quality image, double-check that your projector is set to its native resolution and aspect ratio for optimal viewing.
- Always make sure the projection surface is flat and even to avoid any distortion or unevenness in the image.
- If your projector has a "test pattern" or "resize" feature, use it to help fine-tune your screen size and aspect ratio.
By following these steps and troubleshooting tips, you can easily adjust your projector screen size for an immersive viewing experience every time! Remember to consult your device's manual for any specific instructions or features that may differ from the general guidelines outlined above.
Will Resizing the Screen Affect Image Clarity?
While adjusting the screen size on a projector, it's essential to strike a balance between the desired image size and clarity.
Resizing the screen can have an impact on the overall image quality, depending on how it is done. Manually increasing or decreasing the zoom may result in distortion or blurriness due to the change in focal length of the lens. Similarly, using keystone correction excessively can also affect image clarity as it digitally alters the shape of the projected image.
The best way to maintain image clarity when resizing the screen is to use lens shift instead of zoom or keystone correction whenever possible. This allows for more precise adjustments without compromising quality. Additionally, ensuring that your projector is set to its native resolution and aspect ratio can also help maintain image clarity.
In the end, it's a matter of finding the right balance between screen size and image quality, which may require some experimentation and fine-tuning. So, always test and adjust as needed before settling on the final screen size for optimal viewing experience.
FAQs
Can you adjust projector screen size without moving it?
Yes, you can adjust the projector screen size without moving it by using the zoom and lens shift features. This allows for more precise adjustments without having to physically move the projector. However, if you need to significantly change the throw distance or angle of projection, then moving the device may be necessary.
How do I know if my projector supports keystone correction?
Most projectors offer keystone correction as a standard feature, but some older or lower-end models may not have this capability. You can check your device's manual or specifications online to see if it has this feature. If not, consider using a tripod or mount to achieve a level projection surface instead.
Is there an ideal distance for projector screen size?
The ideal distance for projector screen size will vary depending on the specific model and its throw ratio. Consult your device's manual for recommended throw distances, and then use this as a starting point to adjust the size using zoom and lens shift features.
Is a projector screen 16:9 or 16 10?
A projector screen can come in various sizes and aspect ratios, including 16:9 and 16:10. The most common aspect ratio for modern projectors is 16:9, which matches the standard widescreen format for movies and TV shows.
Conclusion
In conclusion, mastering the art of adjusting projector screen size is essential for achieving a seamless viewing experience.
Throughout this guide, we explored the significance of aligning the projected image to the desired screen size without compromising image quality. Modern projectors come equipped with features like keystone correction, zoom, and focus adjustments, which facilitate precise modifications tailored to your environment.
Regularly checking and maintaining projector settings is crucial for sustaining optimal performance.
Always refer to your user manual for model-specific guidance, and don't hesitate to seek professional assistance if necessary. By following these steps, you can ensure that your projector delivers clear and vibrant images, enhancing every viewing occasion.